Getting Started
Building Your First Form
Start by creating a new form:
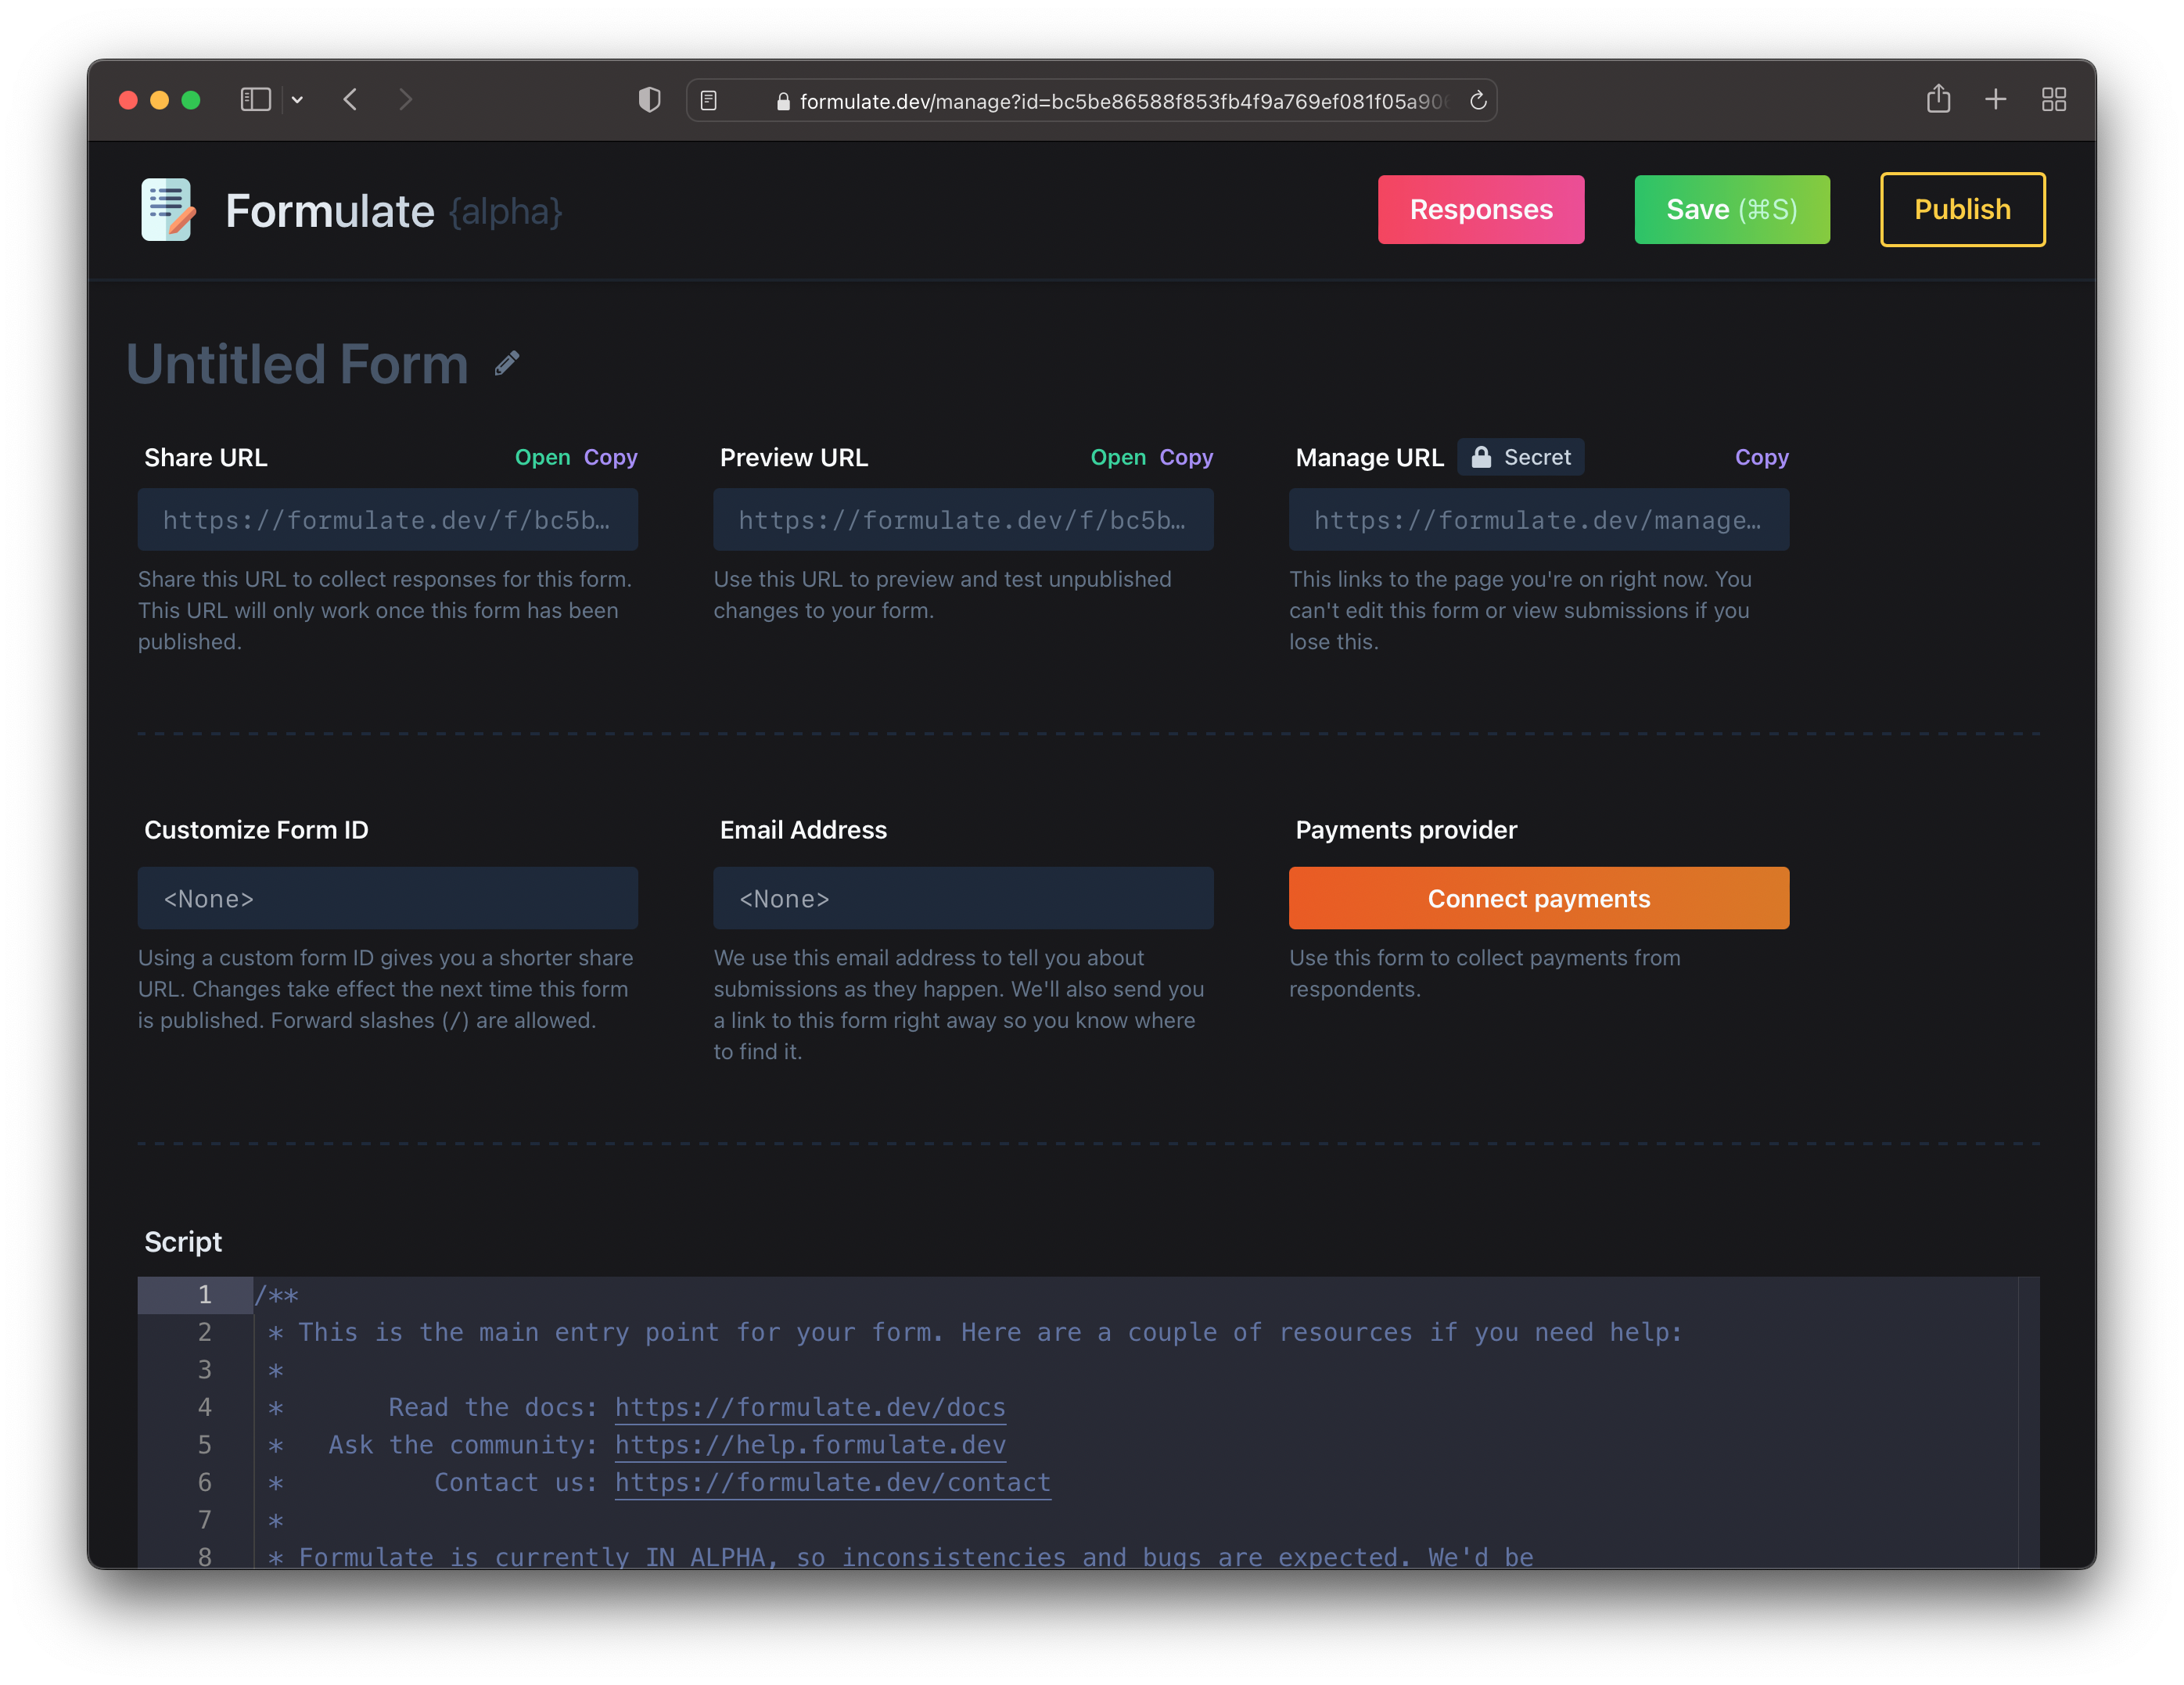
The top row shows you three URLs:
- Share URL: this is the link you share with potential respondents. Only published changes to the form are visible here.
- Preview URL: use this link to view unpublished changes to the form, useful when you're first building out your form.
- Manage URL: this is the page you're on. This URL is (until we build an actual auth system anyway!) the only way to get to this page, so save it somewhere safe!
Next, add your email address to the form. We'll email you every time your form receives a submission. We'll also send you a link to the Manage URL right away so you never lose access to this form.
By default, a Share URL looks something like this:
https://formulate.dev/form/bc5be86588f853fb4f9a769ef081f05a9064e6e0740fbc3ee76974564f78579b
If you'd like something shorter and more memorable, you can pick a custom Form ID, which lets you use a Share URL like this instead:
https://formulate.dev/f/my-first-contact-form
Finally, hit Publish to publish your form. It should now be live at the Share URL.
Writing Your First Question
New forms include a script that looks something like this:
export default async function () {
  let name = await form.short("Welcome! First off, what is your name?", {banner: true});
  await form.statement(`It's lovely to meet you, ${name} 👋`);
}
To add a question, simply call one of the methods on the form global (which is also aliased to f and formulate). You should be able to do this quite easily with the editor's autocomplete.
Remember to await the result, which allows the script to pause while the user types in their response.
Let's say we want to collect an email address. That's easily done by adding this question to the script:
await form.short('Please enter your email address', {
  description: 'We promise not to spam you or share your email',
  email: true,
});
Hit the Save button (⌘S and ^S work too), and load up the Preview URL. Once you get past the first two questions, you should see:
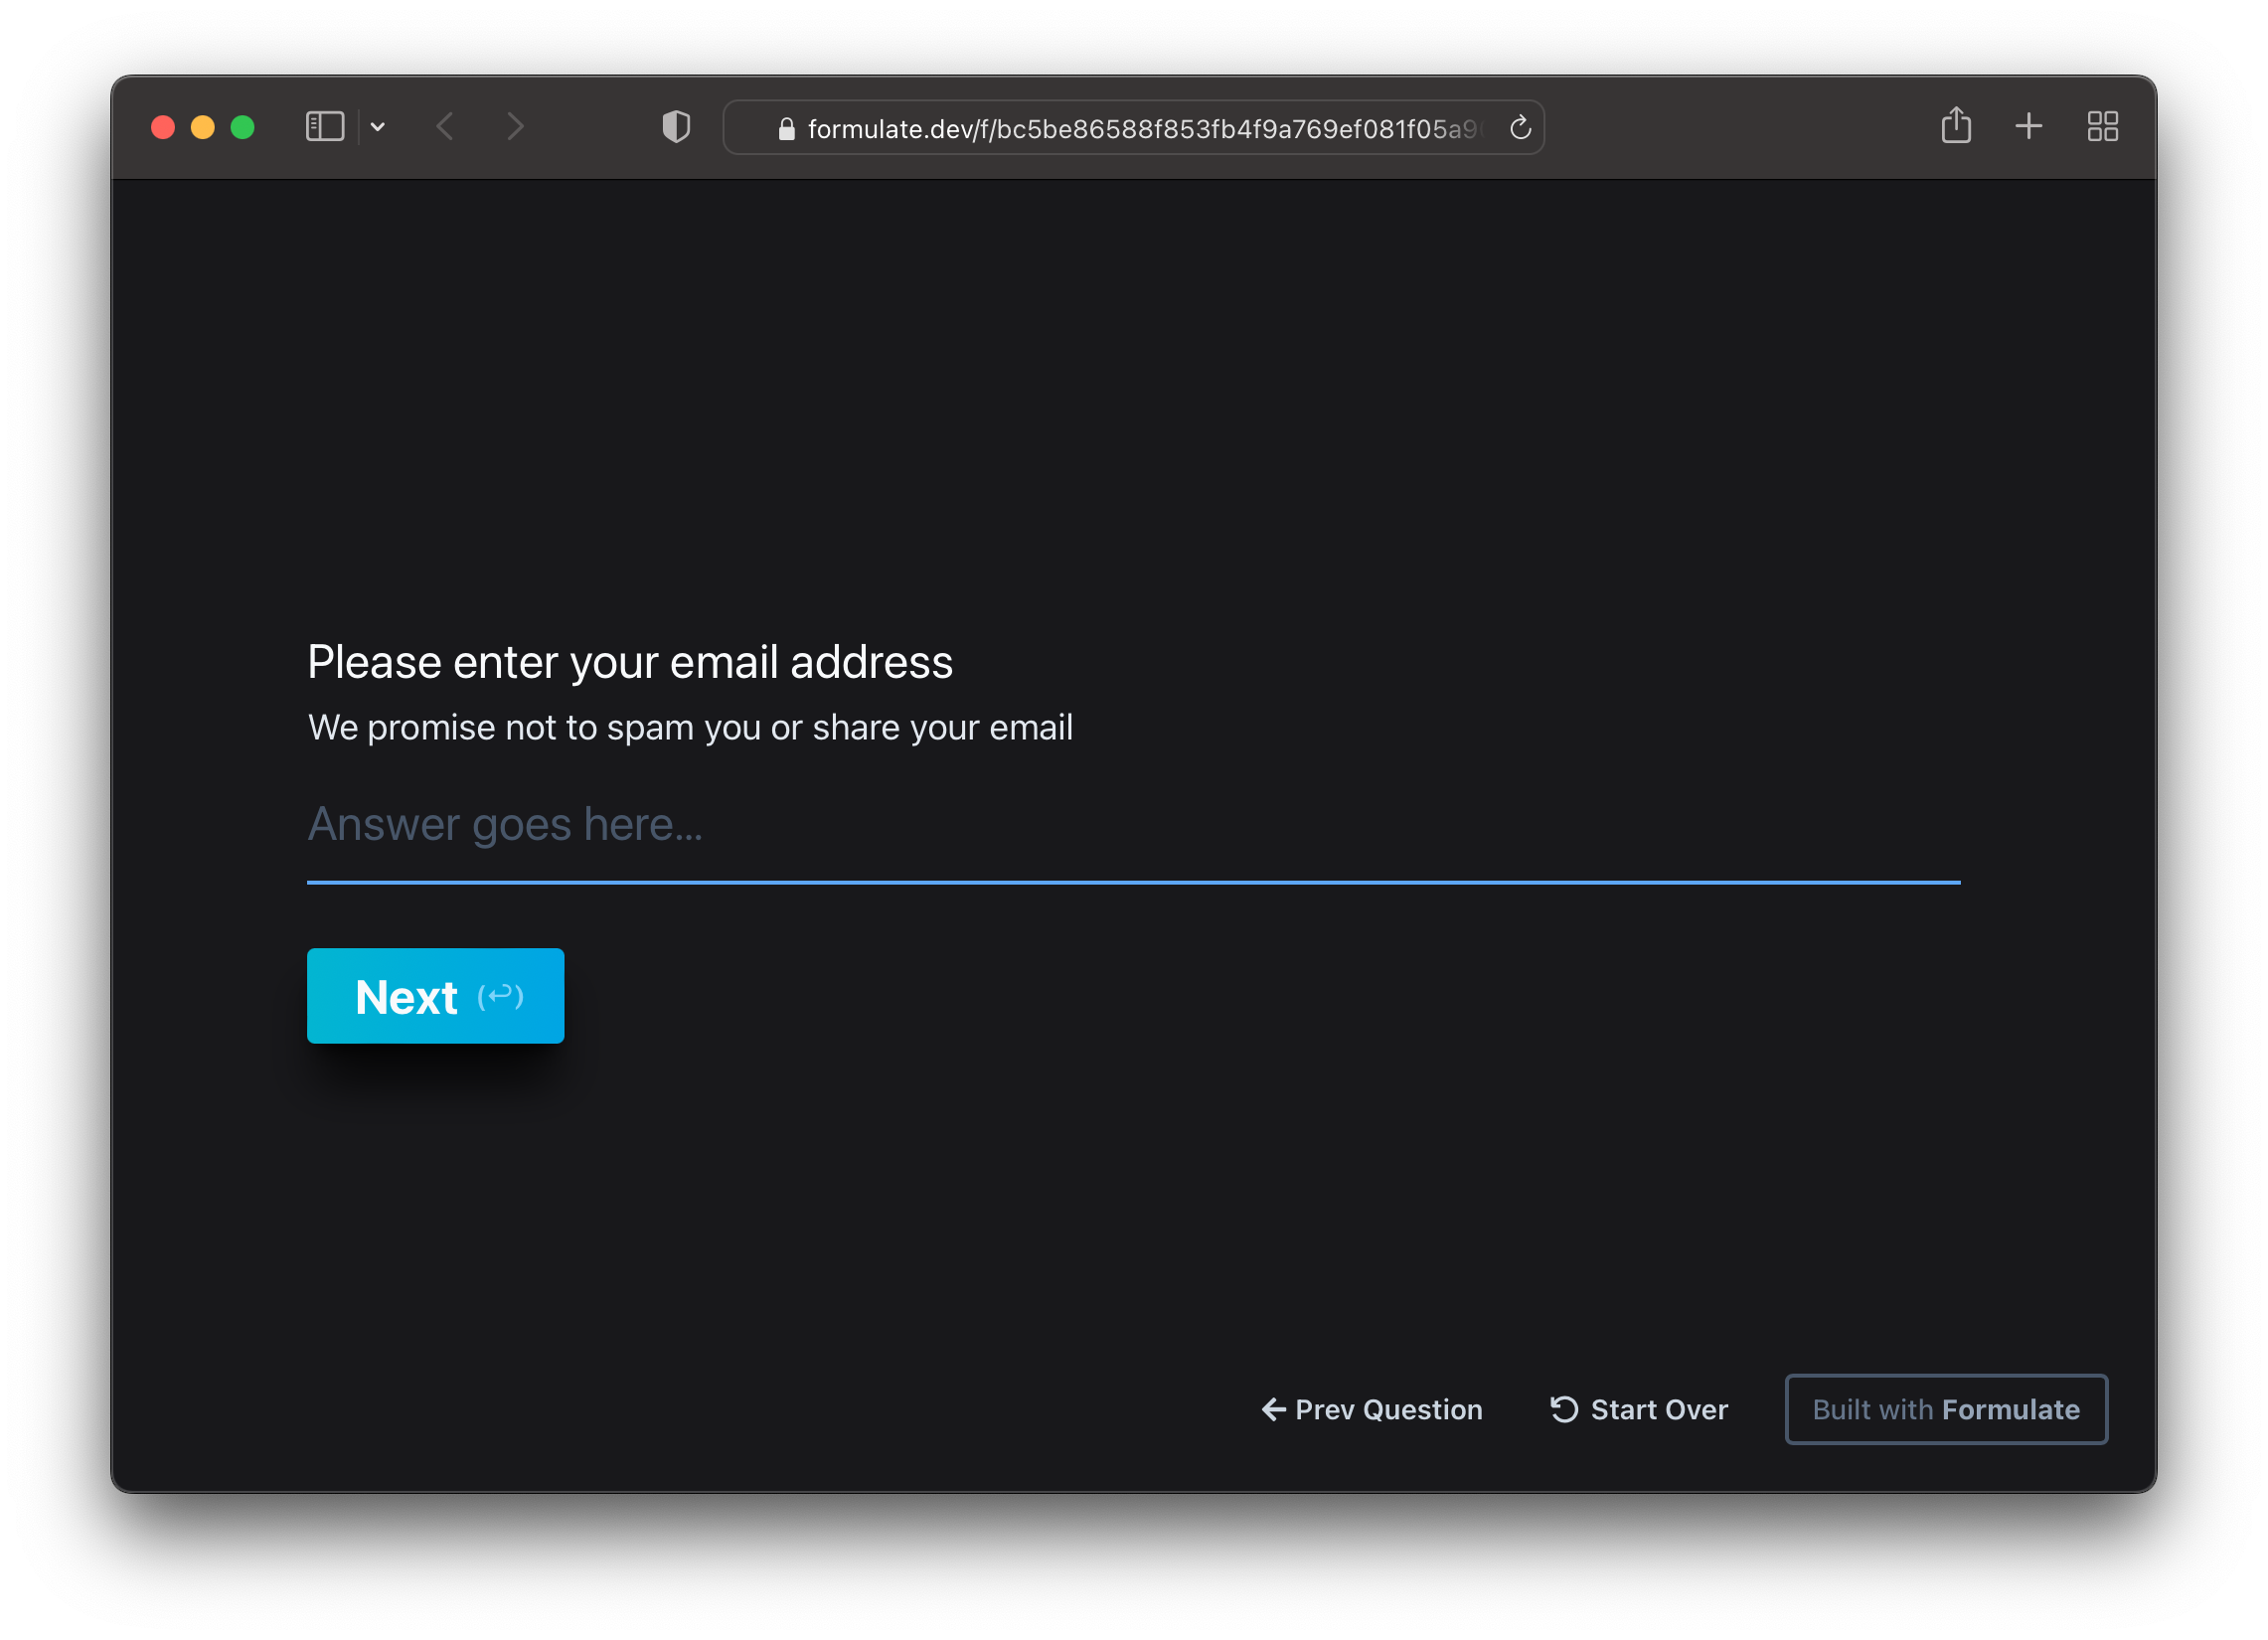
It's really that simple!
Ok, let's do another. Let's say we want to collect a list of countries the respondent has lived in, and then ask about their favorite.
Generate Questions Dynamically
To start, let's collect a list of countries and country flags. We did this using a tiny script and placed the results at these URLs:
List of countries and their two letter country codes:https://prod.static.formulate.dev/docs/flags/flags.json
Flag for the country referenced by <code>:https://prod.static.formulate.dev/docs/flags/<code>.png
Armed with this data, let's ask the user to pick the countries they've lived in:
let url = "https://prod.static.formulate.dev/docs/flags/flags.json";
let response = await form.fetch(url);
let countryChoices = JSON.parse(response.text).map((c) => ({
  label: c.Name,
  value: c.Code,
}));
await form.select("Let's move on! What countries have you lived in?", countryChoices);
Save your form and run through the preview again. Now you should see:
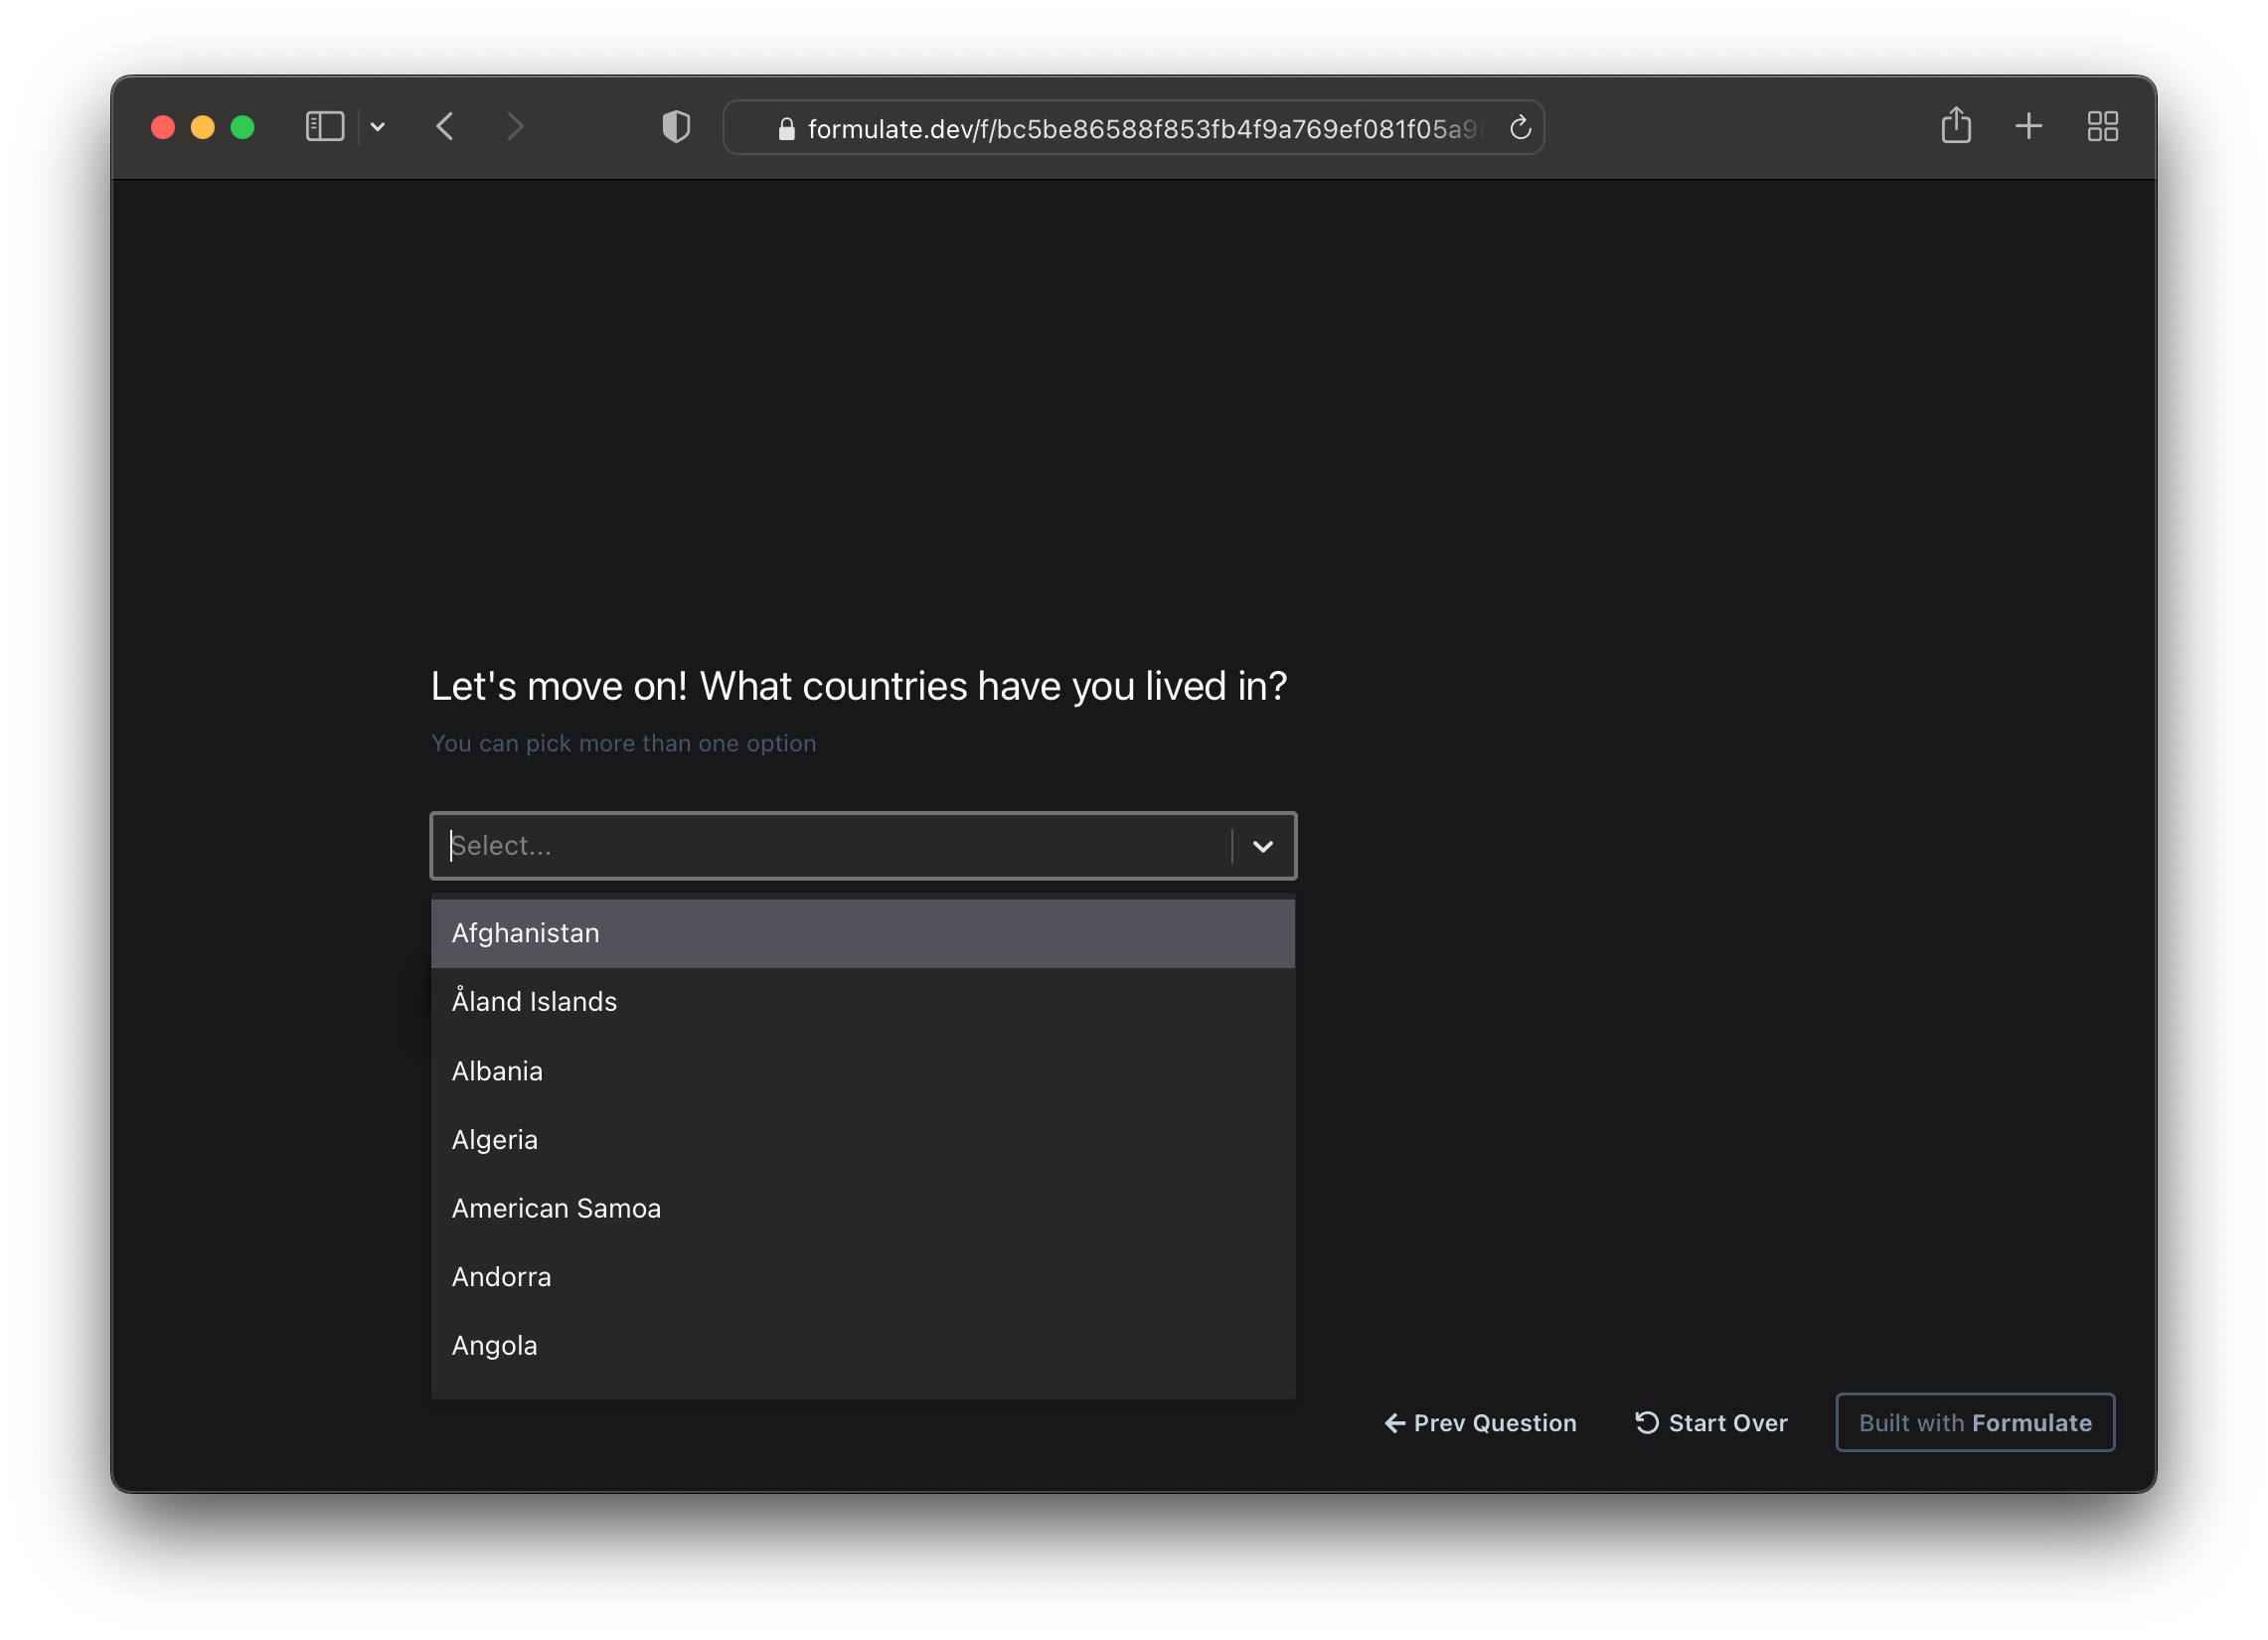
Good so far! Now we can use the response to this question to build the next question:
let countries = await form.select("Let's move on! What countries have you lived in?", countryChoices);
let imageUrl = (code) =>
`https://prod.static.formulate.dev/docs/flags/${code.toLowerCase()}.png`;
let countriesWithImageThumbs = countries.map((c) => ({
...c,
image: imageUrl(c.value),
}));
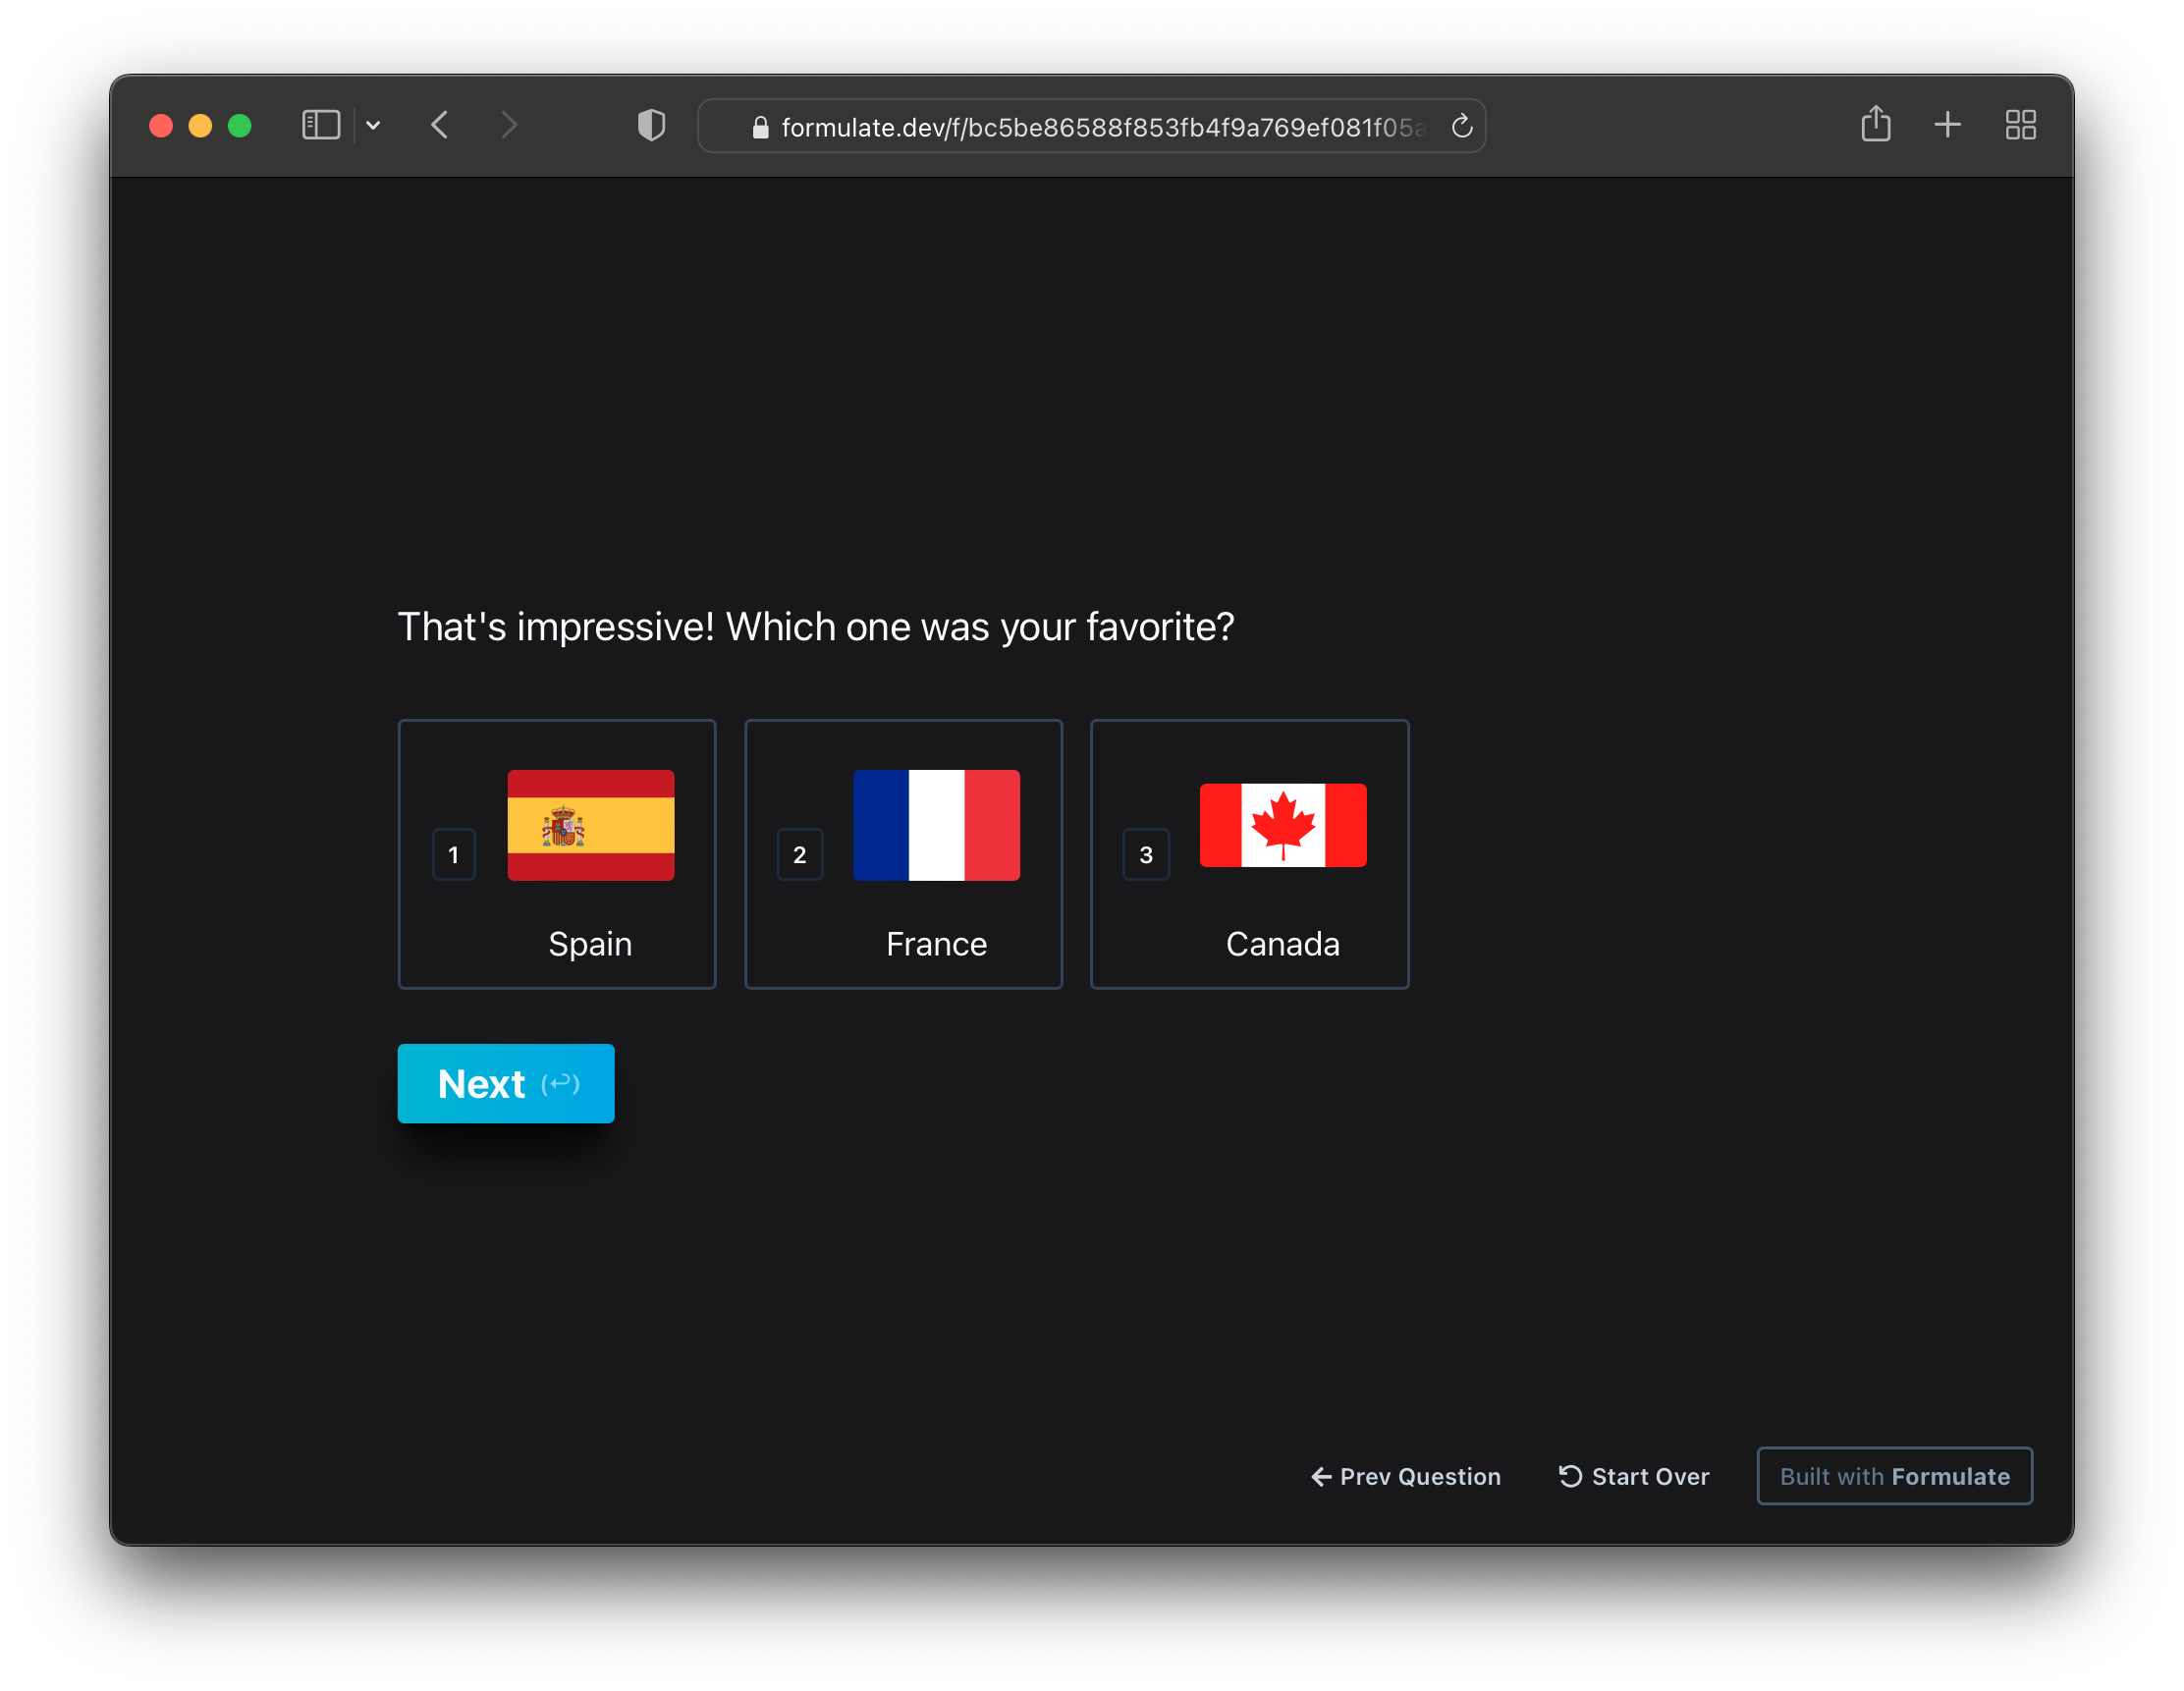
await form.multi(
`That's impressive! Which one was your favorite?`,
countriesWithImageThumbs,
{ single: true }
);
Same drill one last time, save and preview. Say you pick Spain, France, and Canada as the countries, you've lived in, you should see:
Submission
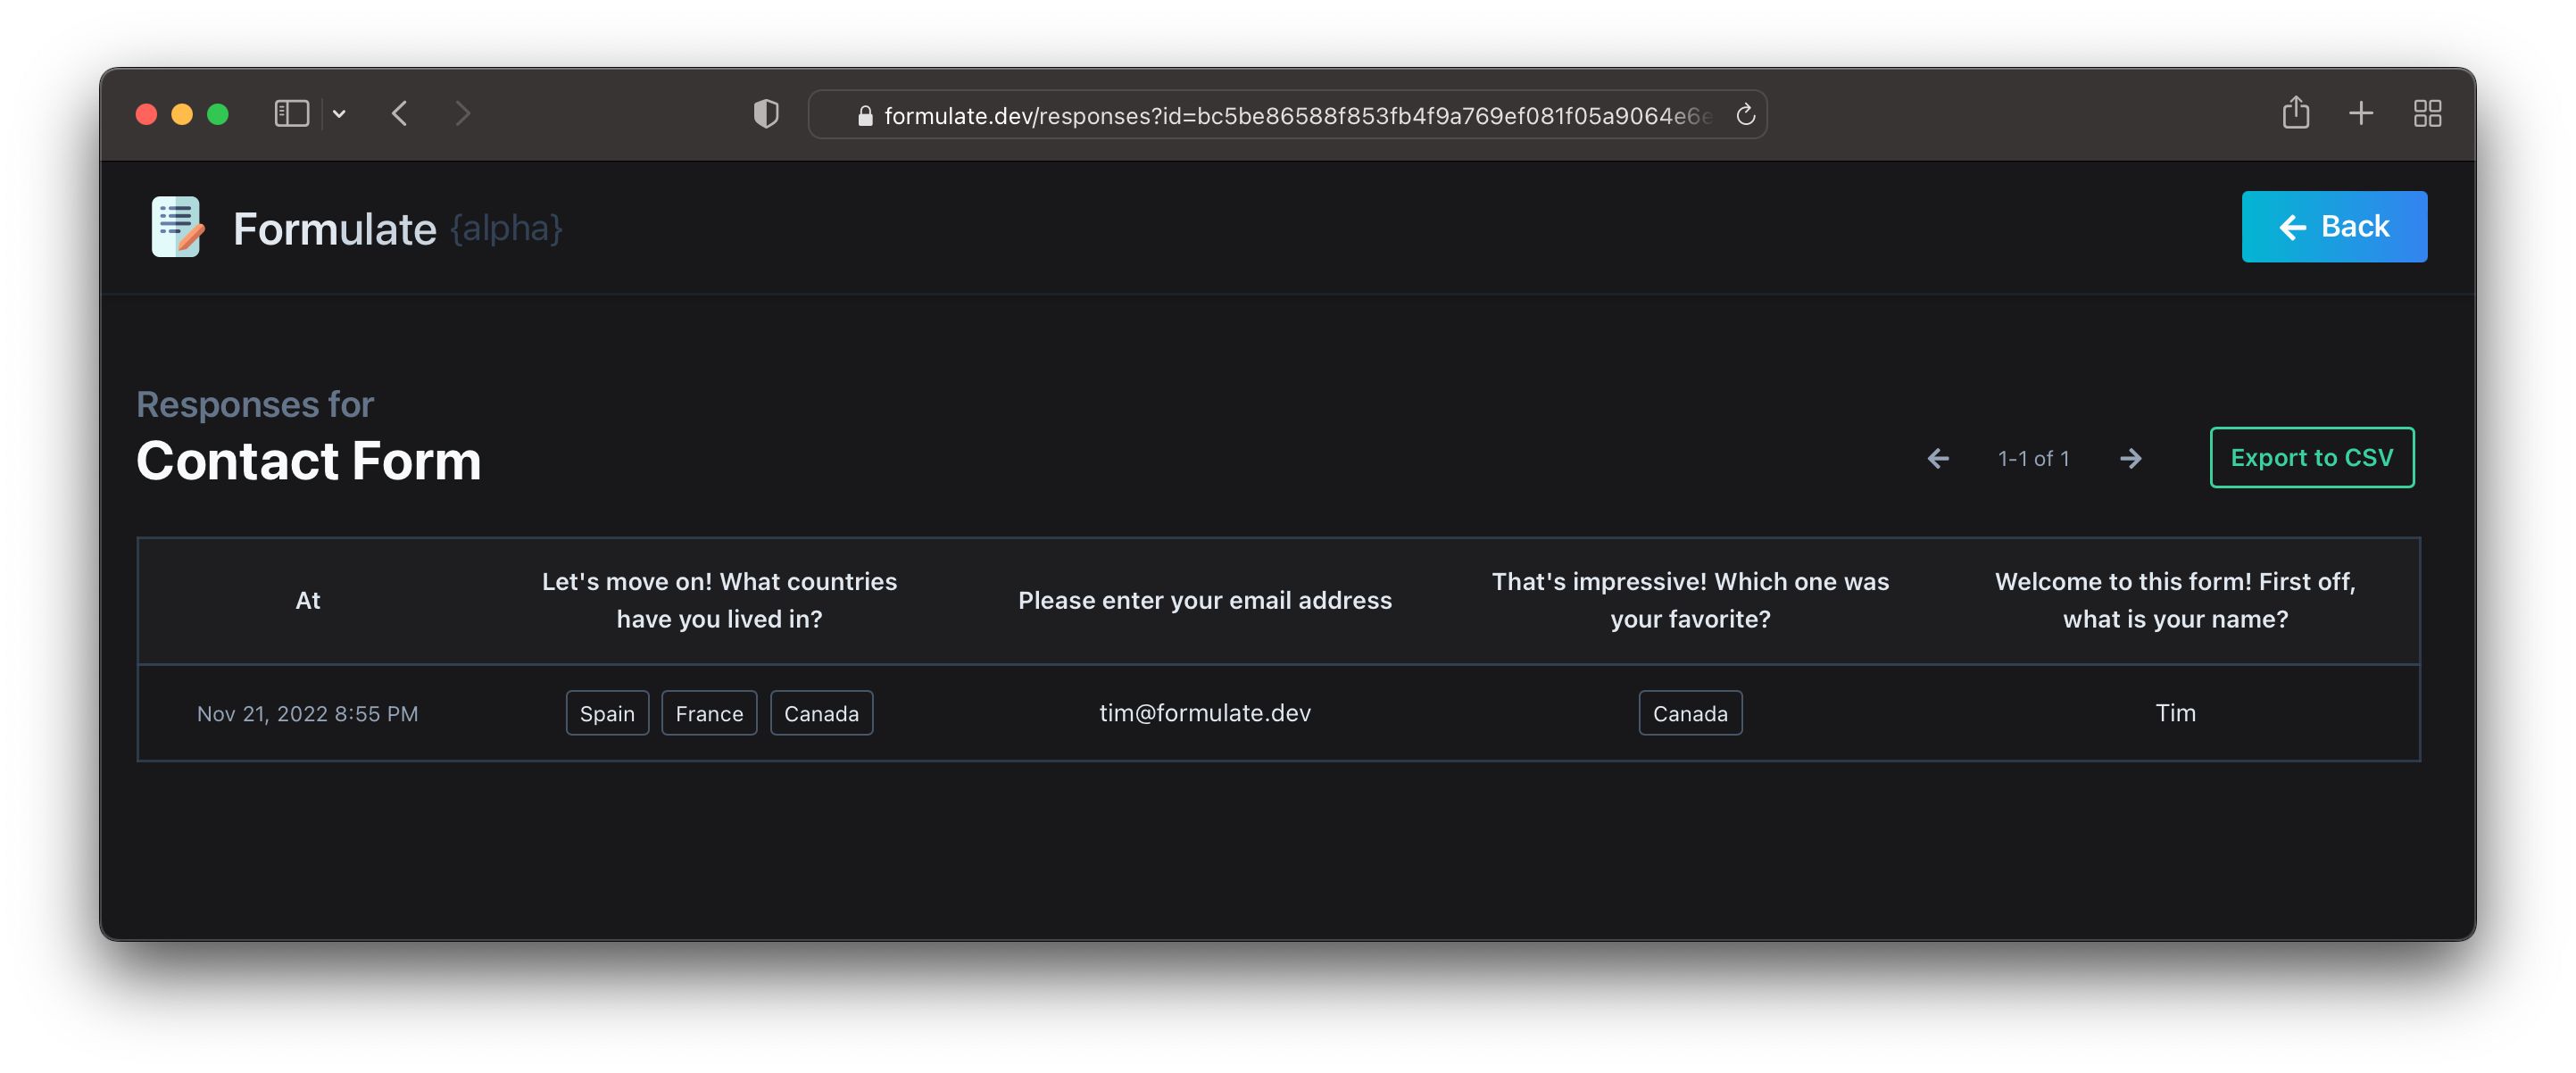
If you now hit Next and submit the form, you should see the response in the Responses section of your Manage URL:
That's it for now! Head over to the gallery for more inspiration, visit our community if you're stuck and/or have questions.